

 Hiya , Welcome to Colour & Chat with sammie - a mostly LIVE-STREAMING Adult coloring channel - I stream with a real time colouring sessions and a live interactive chat (details below)
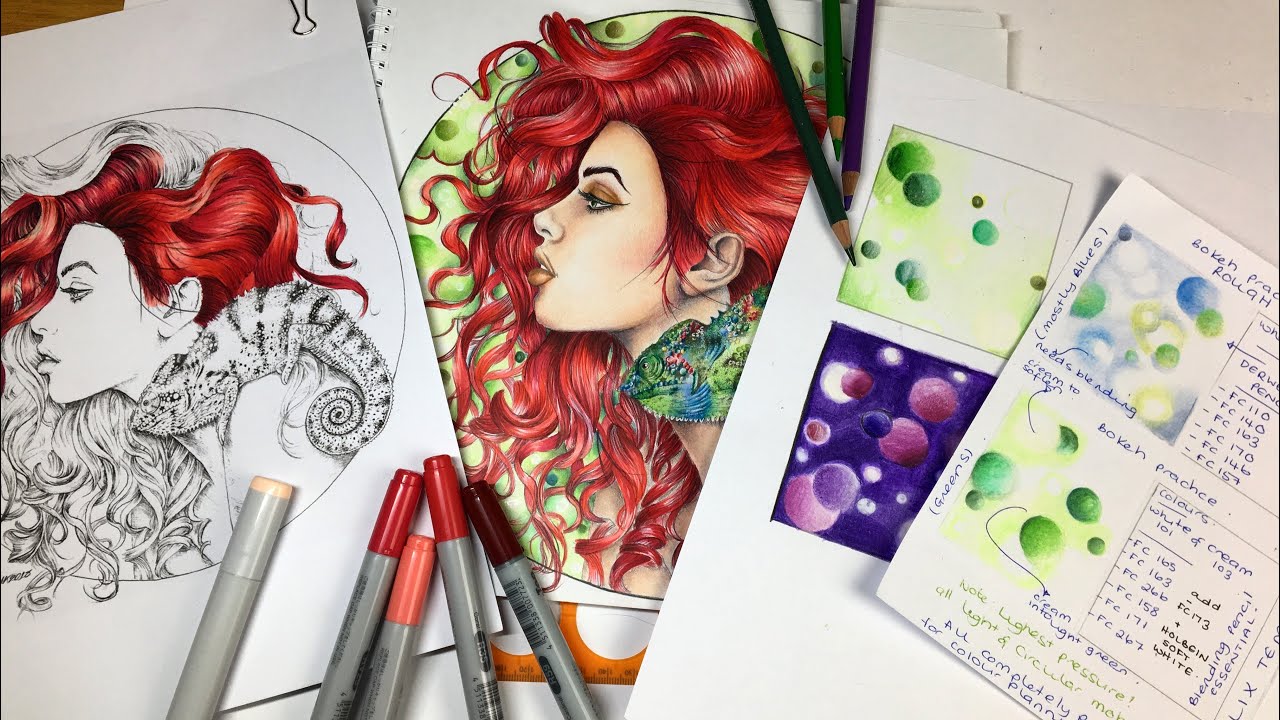
 TWO demonstrations today -
1. Copic hair **Im a beginner with Copic Markers - i am in no way experinced with them - if you want awesome Copic colour alongs head on over to Colourwithfaithfulgirl1978 - Belinda** with Faber Castell Polychromos details.
2. Simple Bokeh Bubbly background with a stencil and pencils
*********************************************
Copic hair colours: RV29, R35, R22, R01 (and the darkest tone for a little amount to add last R59)
Green Bokeh:
Polychromos in: FC165, FC163, FC266, FC158, FC171, FC267, FC173, FC101, FC103 and a holbein soft white and cream - Add a blending pencil - Derwent or the Lyra Rembrandt work best (I found the Prismacolor colourless blender to scratch out the card)
Go with your lightest pressure first on the Lighter background Bokeh - when approaching a darker background you need to lay down a huge, heavy amount of pencil to solidly lay the colour in.
This will be quite tedious and testing on the hands but you can take a break in between.
Work on the Circles first. add colour to the circles you want- and leave some blank for the white and ivory circles.
Use a light colour to apply the circles in with your stencil - Stencil used on this demo is .....
blending out the circluar 'Bokeh' areas will soften the edges and lessen the look of it being so sharp - it will also give that haze/glow into the background perfectly..
COPIC HAIR TIPS:
Use your dark to light - test on a piece of paper first on which blend you would like 2 achieve - This will stop any faults on your image ... Copics are alcohol ink and will profusely bleed through any page and at a large amount too - add a few (i usually stick 3/4) pieces of card or thick paper behind.
Work slowly with your strokes and as you fade out with the brush tip , lessen the pressure of the copic marker (Kinda like our swish and flick motion we use on pencil hair over here on the channel if you were a part of the hair series we did - if you haven't seen them - check out the playlist)
On adding in the next colour - continue on with the end of the last strokes you laid down - see it as joining dots up - add the colour on to the last colour and keep going - it blends out perfectly this way and no ends are left on their own - They all join up and they all blend out.
When you finally finish the lay down of copics - Step back - Look at any areas that may need a little more lay down - Copics layer up fine ! you wont tear the paper on going over the same area a few times! make sure the paper isnt wet and your good to go again!
LINKS:
helix stencil:
Copic SINGLES in the uk:
Faber Castell Polychromos singles UK:
Mysteria Coloring book by Anastasia Elly Koldereva:
ADDITIONAL LINKS:
My 'Dusting' make up brush (as requested)
Anastasia website page:
Anastasia IG page:
Copic FULL set A Ciao:
Copic FULL set B Ciao:
PRINTING CARD I USE - 160GSM (I use this EXACT card and swear by it):


0 Comments